-
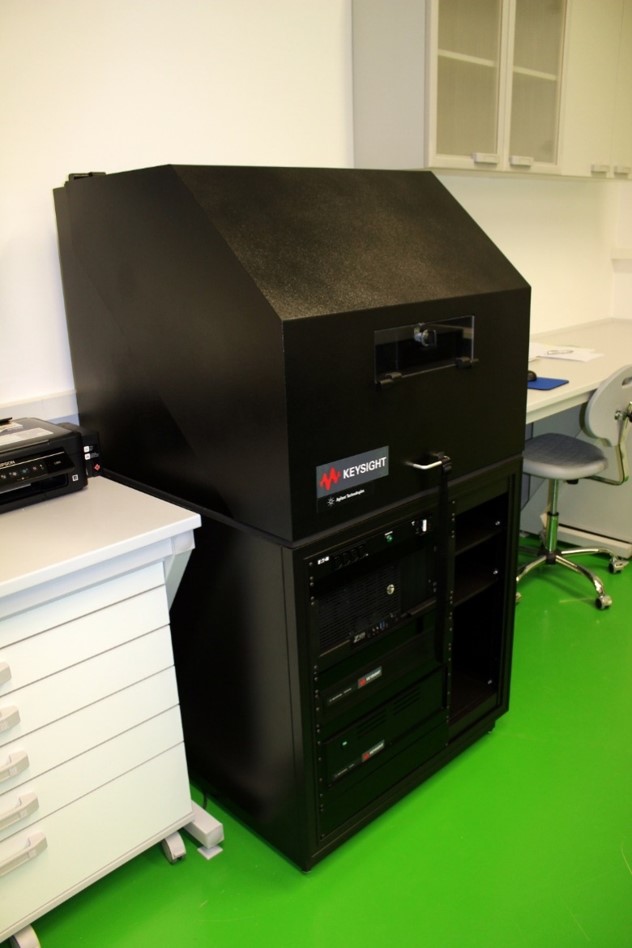
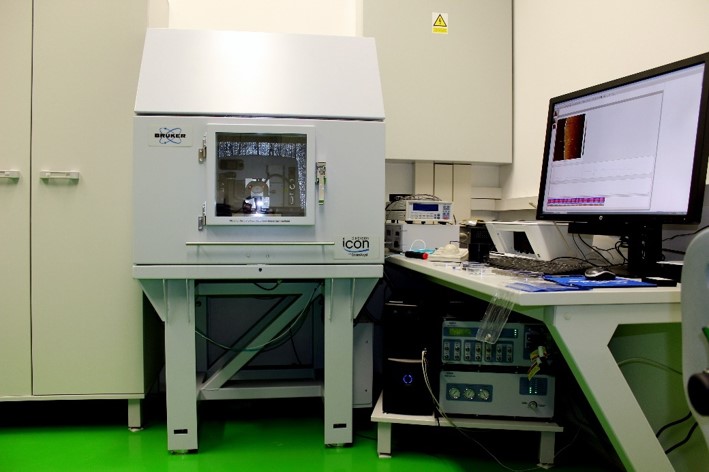
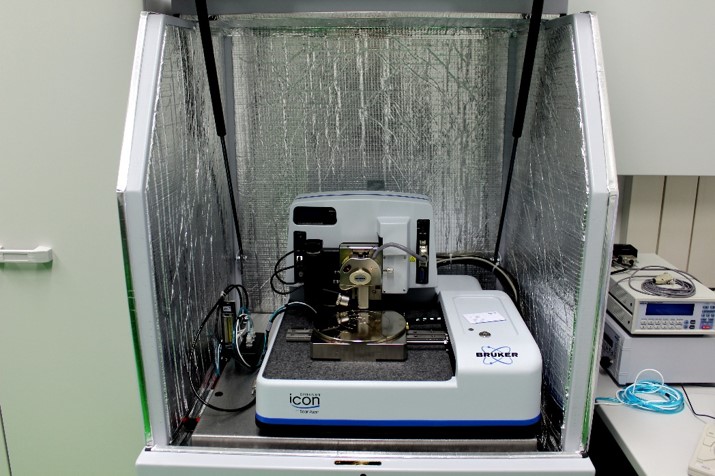
AFM and STM modules in one device.
-
Supports contact and tapping mode (closed loop control keeps the force (deflection of the beam which holds the tip) constant, which limits the contact forces to < 200 pN, i.e. a value far lower than the tapping forces of other devices – PeakForce tapping).
-
Enables measurements of elasticity modulus, adhesion, lateral force (LFM), spectroscopy and force modulation, electrochemical analysis, electric field and magnetic forces, surface potential, piezoelectric force; enables also nanolitography, …
Option to measure in liquid for biotechnical applications and measurements with heating/cooling of the samples, …
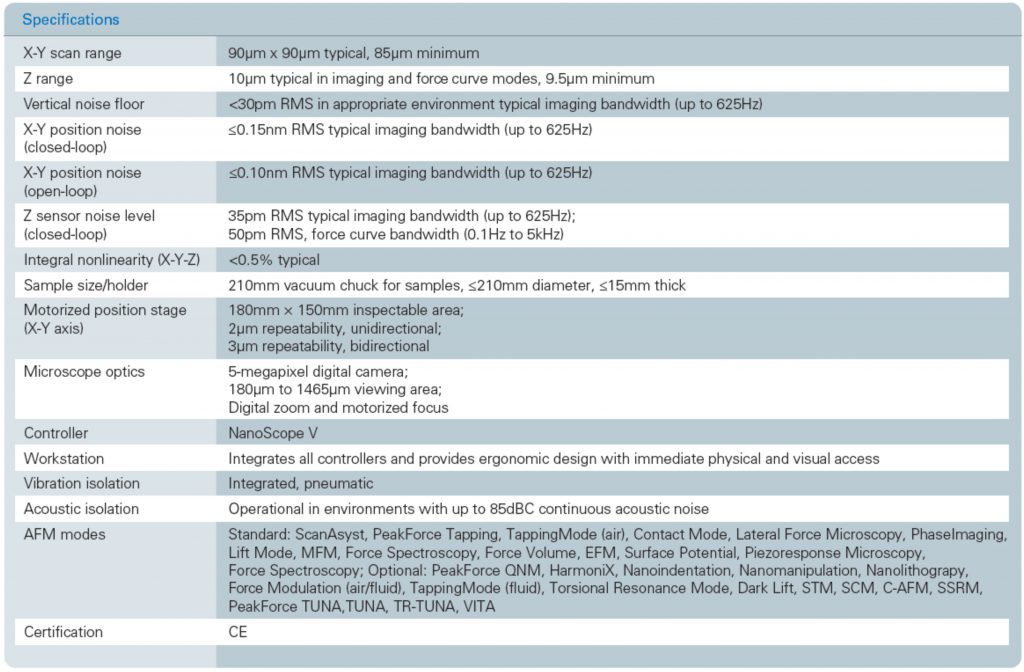
Imaging of measured data on 5’120 x 5’120 pixels.
-
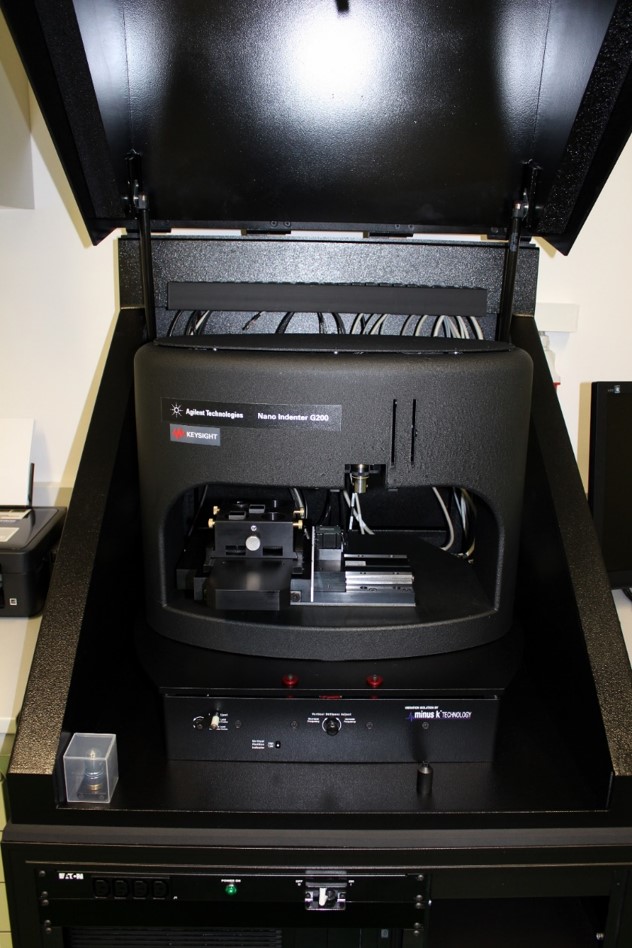
Samples fixed to the support via a vacuum chuck can be up to few millimetres in size, with bidirectional positioning repeatability of 3 μm on a scanning area of up to 90 x 90 μm.
-
Includes heat (creep < 200 pm/min) and vibration isolation (1” Si damping cushion + compressed air → < 30 pm RMS), microscope and CCD camera, control SW, …

-
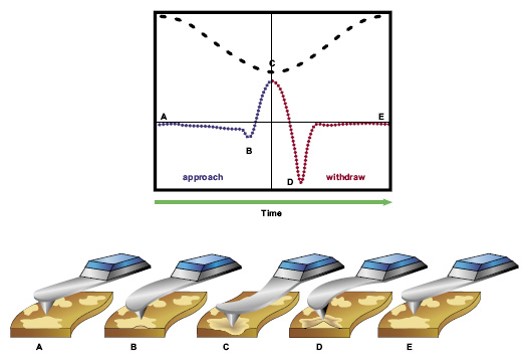
PeakForce Tapping™ is an AC imaging technique, i.e., the cantilever is oscillated but well below resonance.
-
This results in a continuous series of force-distance curves.
-
In addition to direct force control by keeping the peak force constant, a multitude of material properties can be extracted and quantified from the force-distance curve at each pixel within an image, such as modulus, adhesion force, and deformation depth.
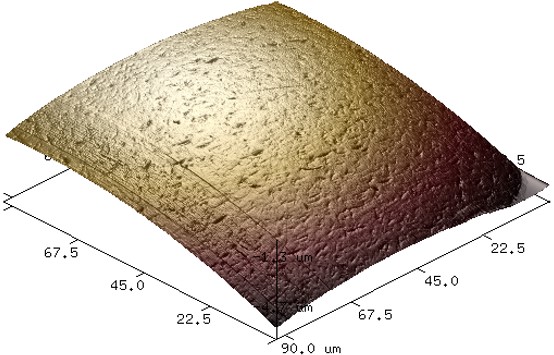
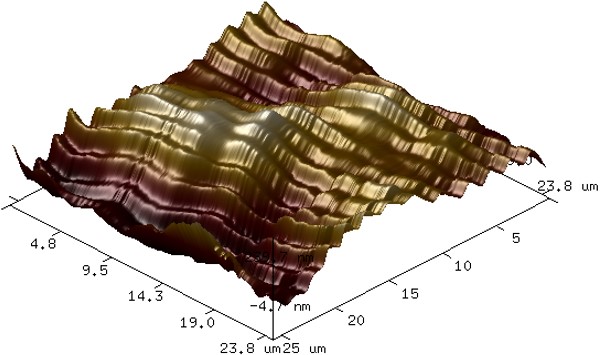
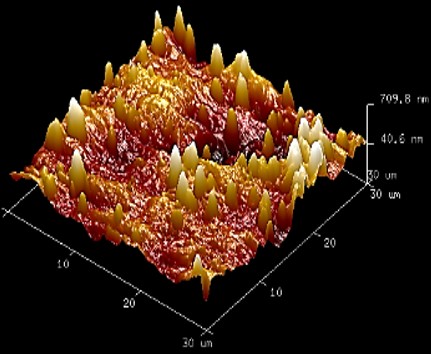
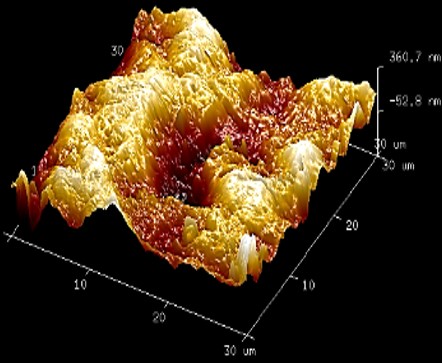
Examples of measurements – mechanical testing of orthodontic archwires (topographies of NiTi, Rh NiTi and N NiTi):
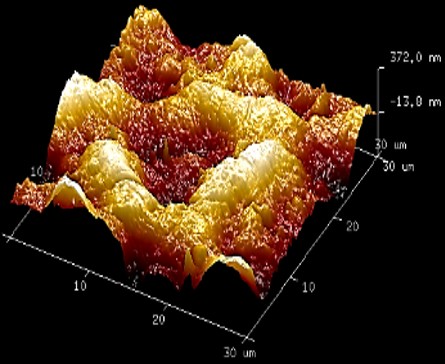
Examples of measurements – ball element and sliding surface of linear guideways:
