-
AFM and STM modules in one device.
-
Supports contact and tapping mode (closed loop control keeps the force (deflection of the beam which holds the tip) constant, which limits the contact forces to < 200 pN, i.e. a value far lower than the tapping forces of other devices – PeakForce tapping).
-
Enables measurements of elasticity modulus, adhesion, lateral force (LFM), spectroscopy and force modulation, electrochemical analysis, electric field and magnetic forces, surface potential, piezoelectric force; enables also nanolitography, …
Option to measure in liquid for biotechnical applications and measurements with heating/cooling of the samples, …
Imaging of measured data on 5’120 x 5’120 pixels.
-
Samples fixed to the support via a vacuum chuck can be up to few millimetres in size, with bidirectional positioning repeatability of 3 μm on a scanning area of up to 90 x 90 μm.
-
Includes heat (creep < 200 pm/min) and vibration isolation (1” Si damping cushion + compressed air → < 30 pm RMS), microscope and CCD camera, control SW, …
Bruker Dimension Icon Scanning Probe Microscope (SPM)
5. July 2017. by
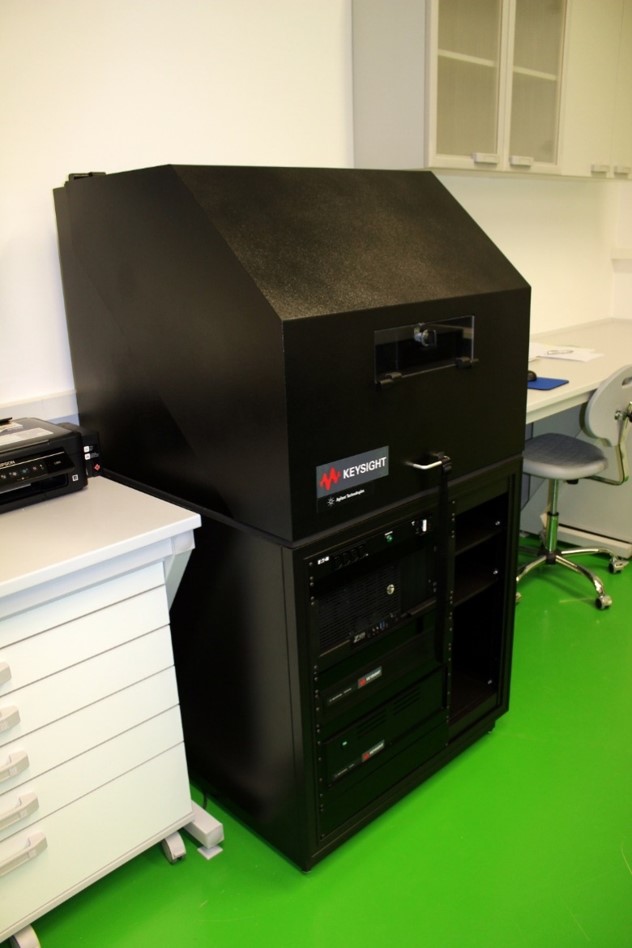
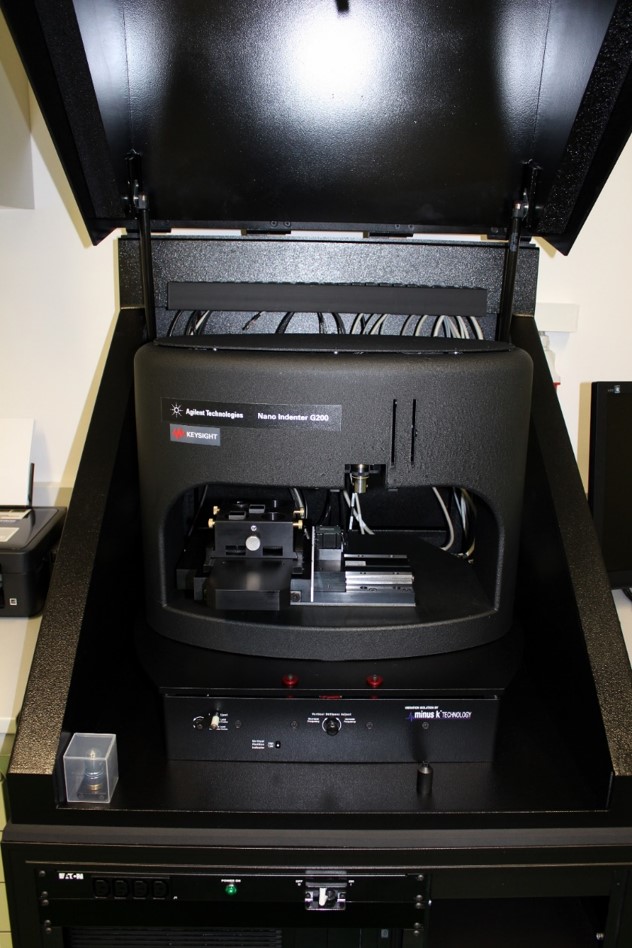
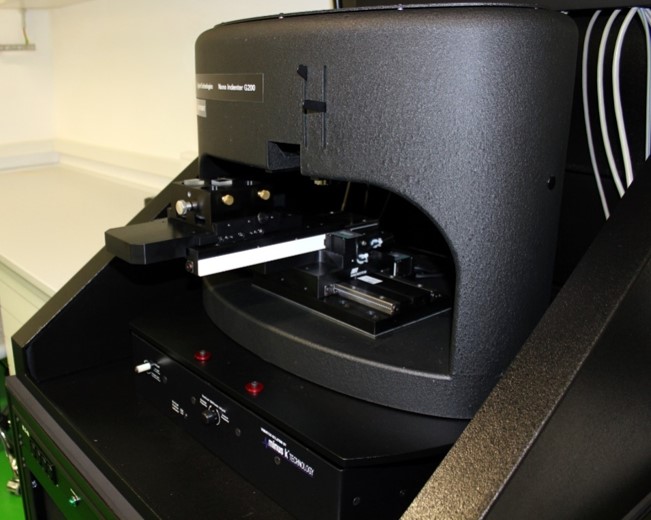
Keysight G200 Nanoindenter
5. July 2017. by
-
The device is thermally as well as dynamically (and acoustically) isolated.
-
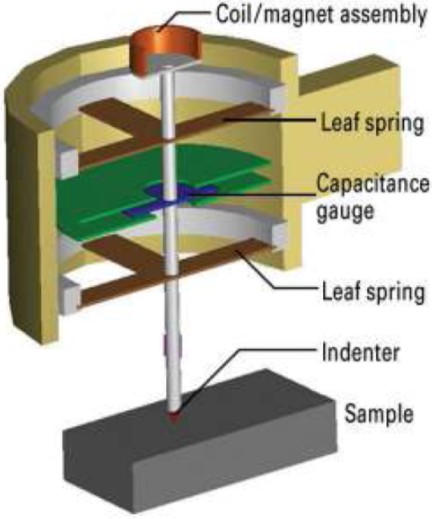
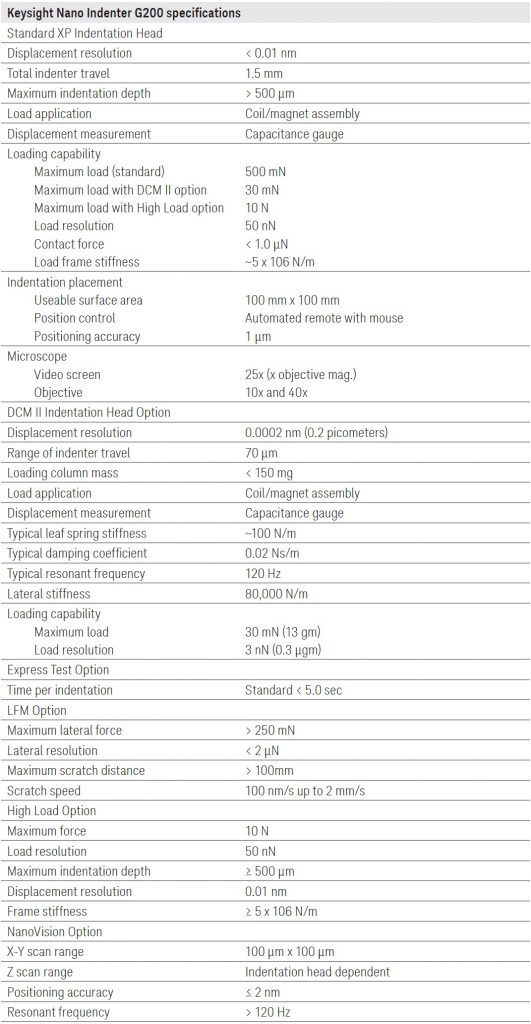
Electromagnetic actuation (voice coil principle), i.e. load generation: max 0.5 N with a 50 nN resolution; additional built-in high-load system with 0.1 mN … 10 N load range. Loading system stiffness (guided by leaf springs): 5.106 N/m.
-
Capacitive displacement measurement: resolution < 0.01 nm for > 500 μm displacement range. Obtainable straightness in a 100 mm range is within 10 nm.
-
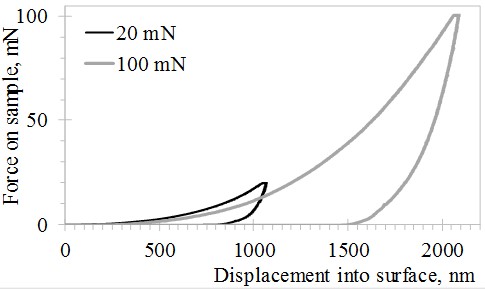
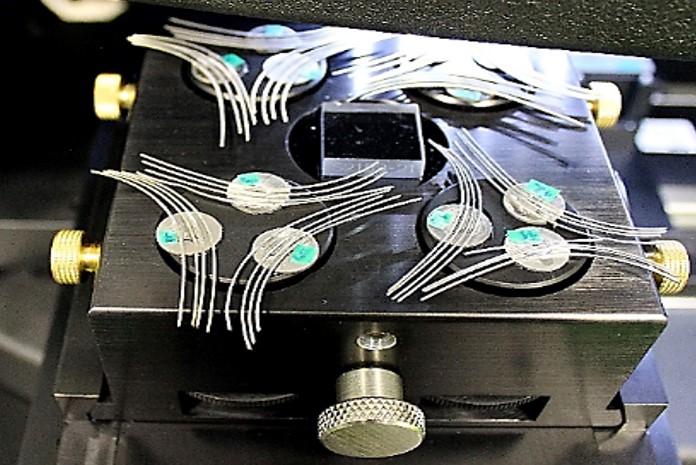
4 samples in a 100 x 100 mm sample holder with a scanning resolution of 0.1 μm and 1 μm accuracy; automatically controlled (closed loop based on incremental encoders). Measurement of elasticity modulus and hardness according to ISO 14577.
-
Enables LFM with a ≤ 2 mN resolution and max lateral force
≥ 250 mN. Low-force measurements enable obtaining surface topology after indentation.
-
Berkovich, cube corner, conical, spherical and Vickers tips. System for sample visualization (10x and 40x zoom), microscope with CCD camera and data analysis SW.
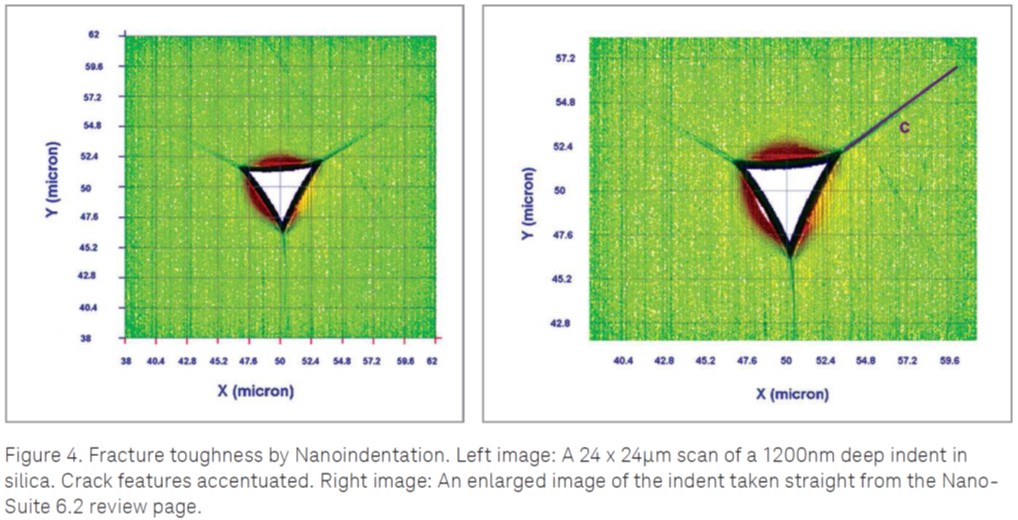
Examples of measurements – mechanical testing of orthodontic archwires:
Shimadzu Autograph AGS-X micro-tensile machine
5. July 2017. by
Measurement of mechanical properties (hardness, elasticity modulus, …) of metals, ceramics, polymers, rubber and composites up to 5 kN with 2 mN and 10 µm resolutions.

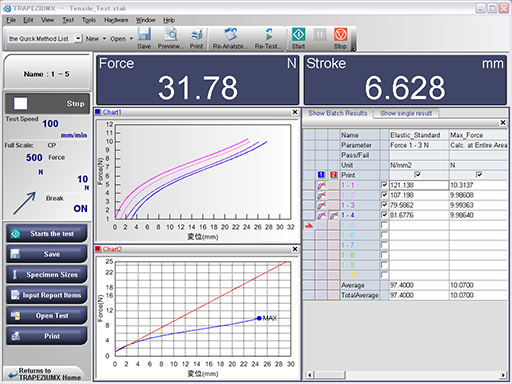
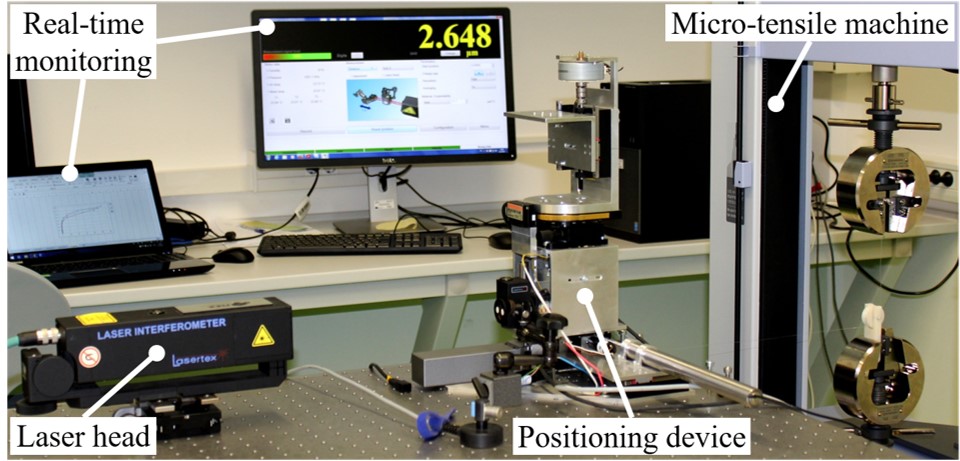
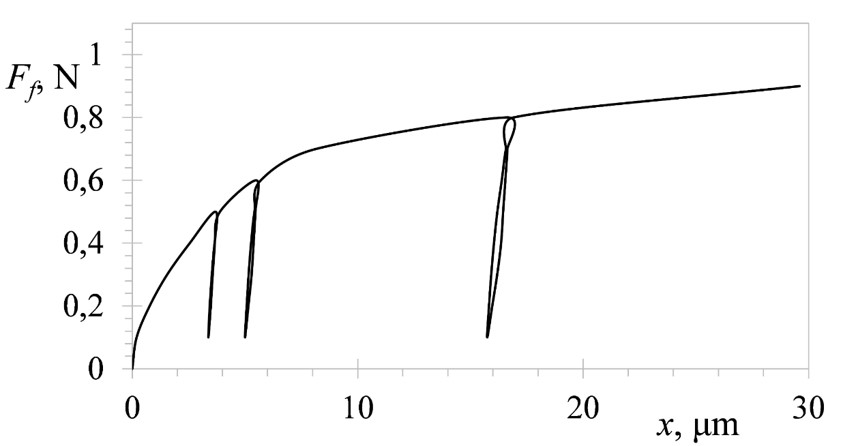
Examples of measurements – measurement of presliding friction of ultra-high precision positioning device:
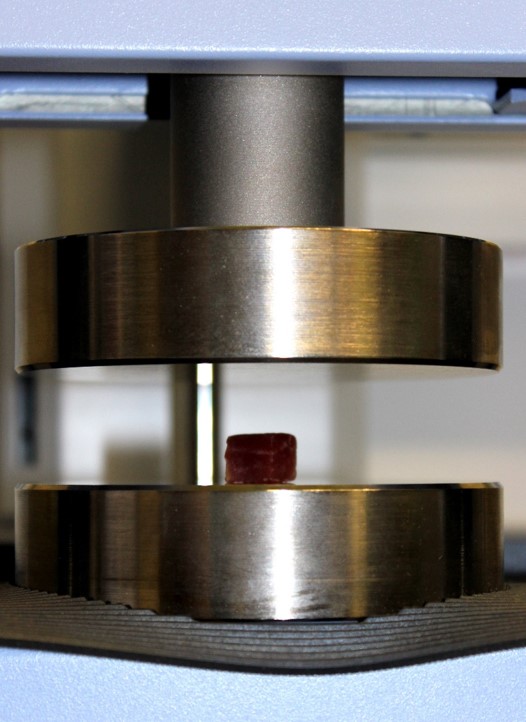
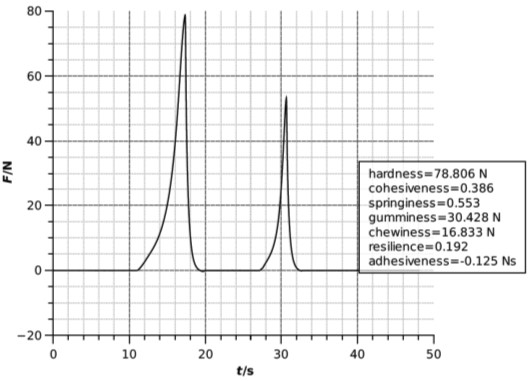
Examples of measurements – mechanical testing of cured ham:
